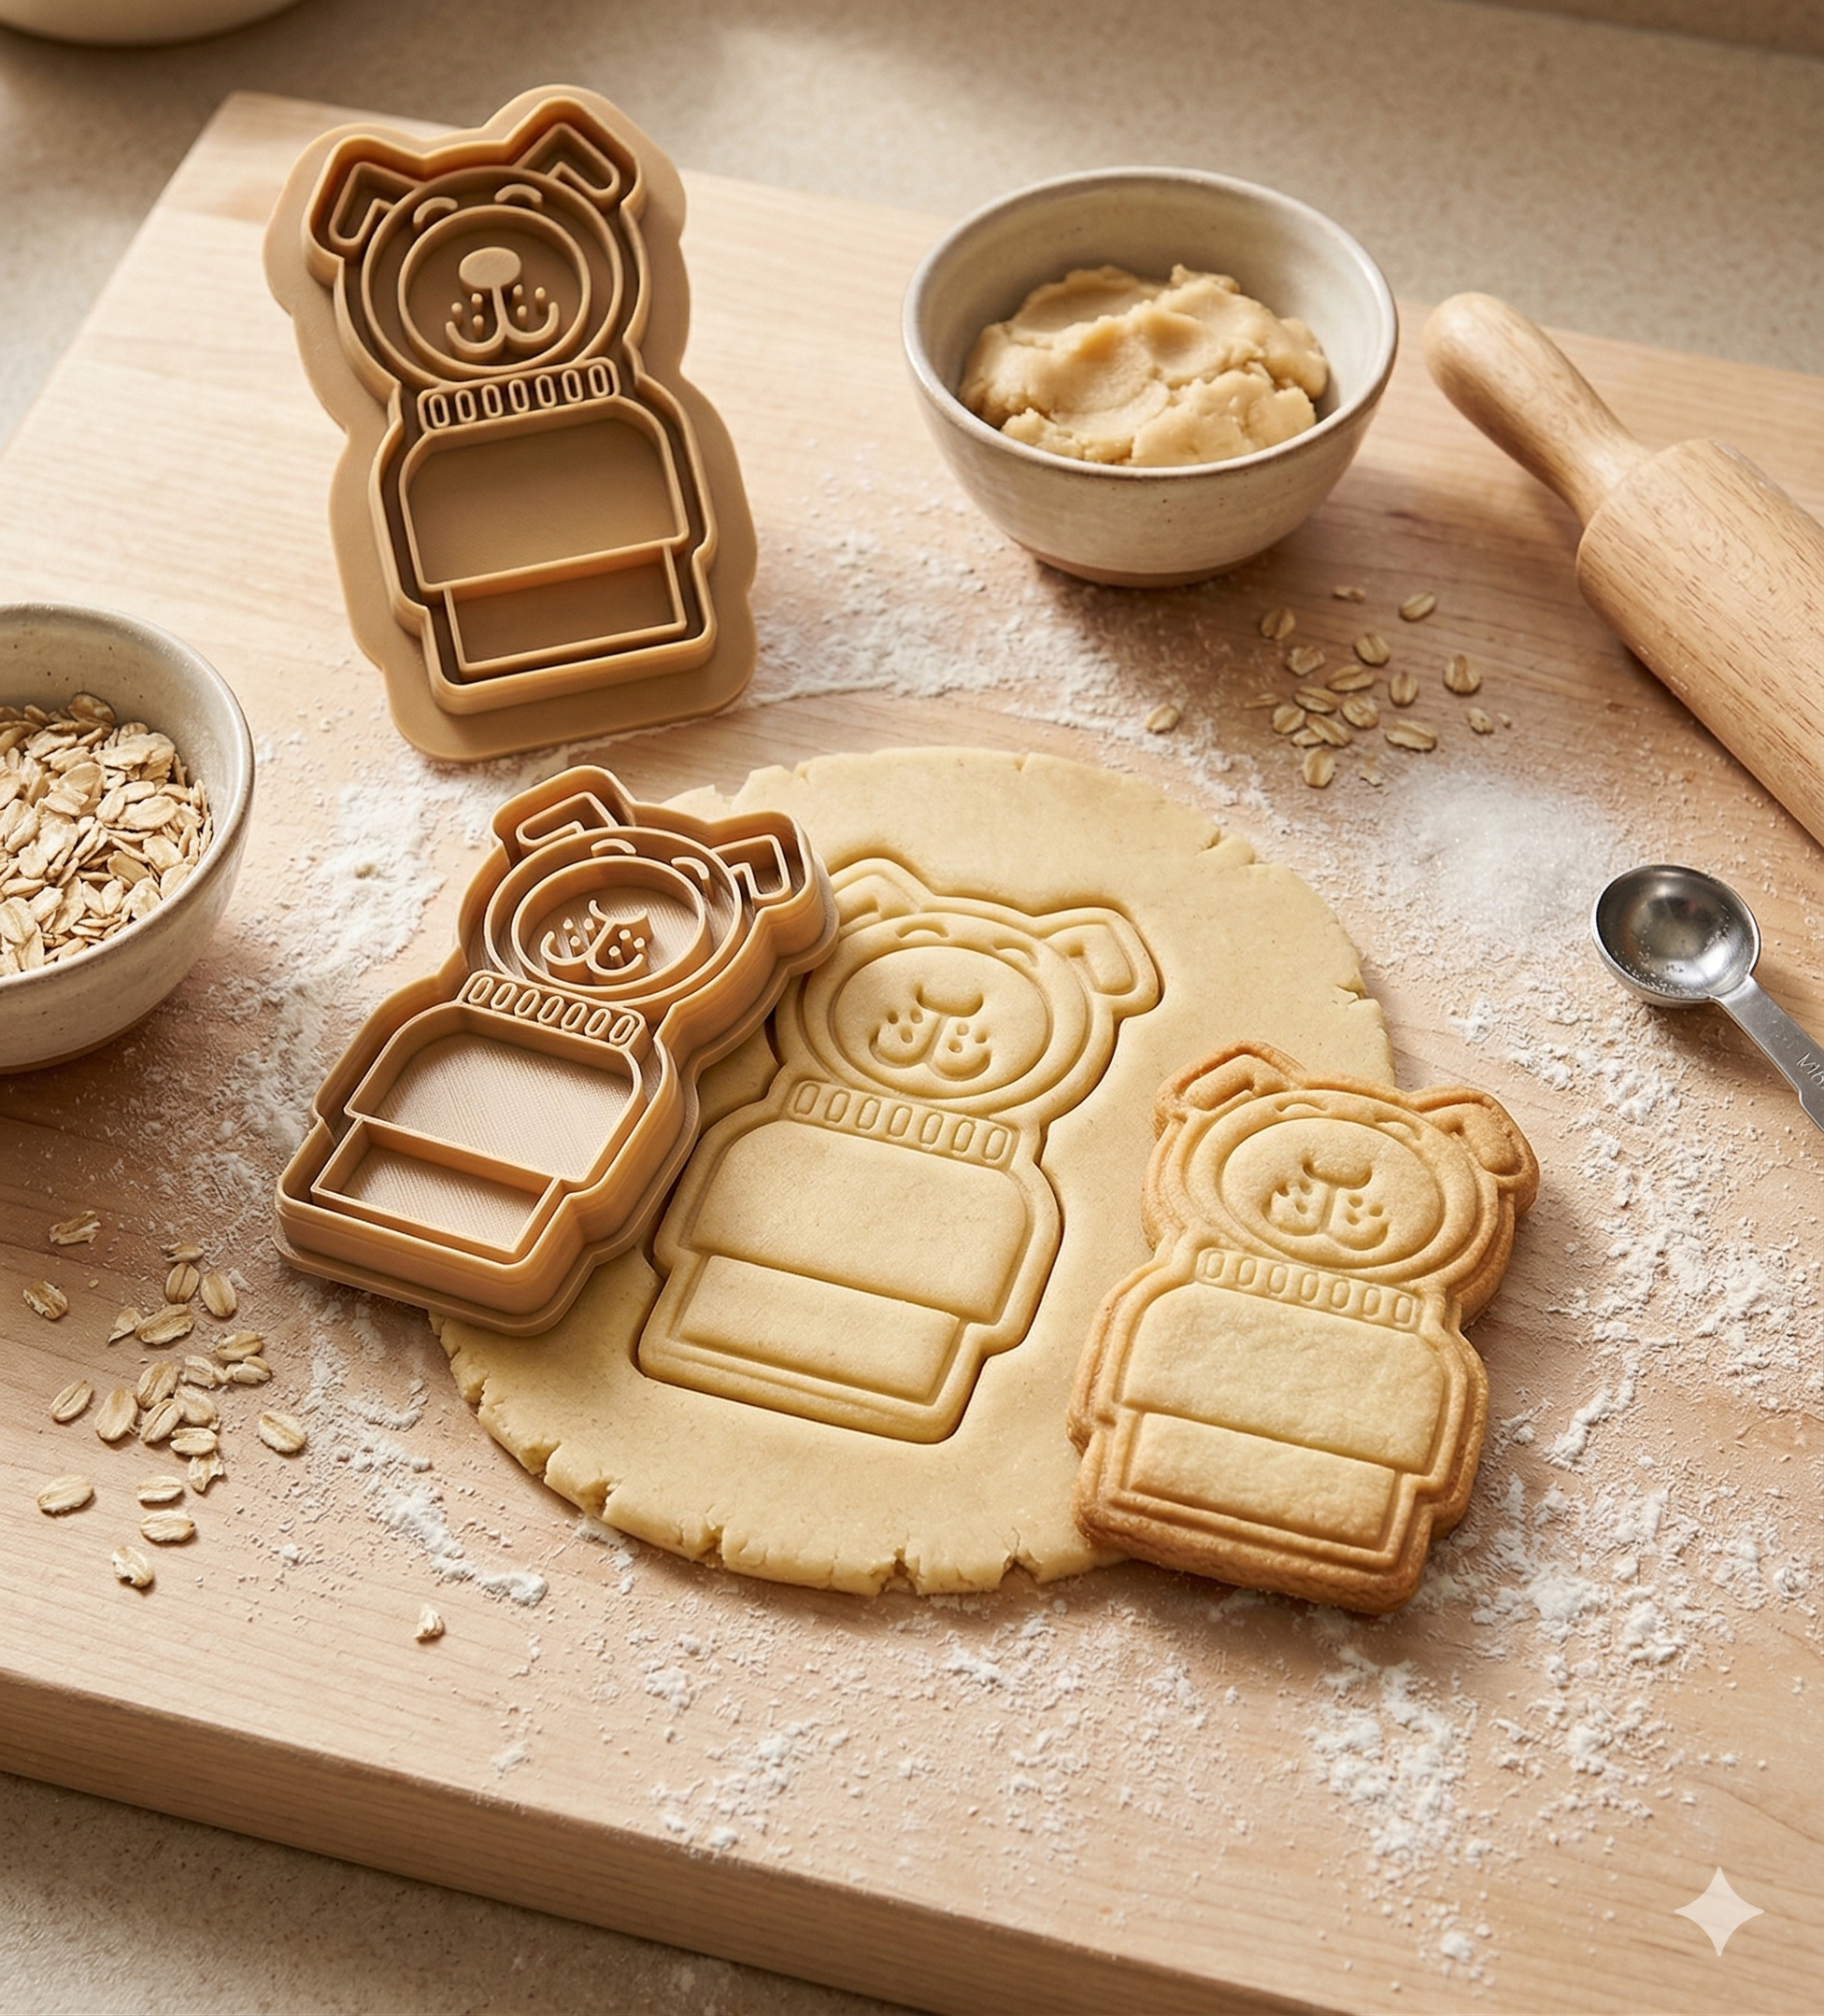


More Than a Button: The True Craft of 3D Printing Custom Figures
Share
More Than a Button: The True Craft of 3D Printing Custom Figures
So, you’ve seen those incredible custom-made figures online and thought, "I want one of those!" Maybe you even have a 3D printer and imagined a big, red “PRINT” button that magically brings your ideas to life. The reality, however, is a little more complex and a lot more rewarding. The journey from a simple idea to a physical, detailed figure is a multi-stage process that blends artistry with technical skill. It's a craft, not a convenience. Let's pull back the curtain and reveal the intricate steps involved in creating a 3D printed masterpiece.
The Spark of Creation: From Idea to 3D Model
This is where it all begins. Before a single drop of resin is cured or a filament of plastic is melted, the figure must exist in the digital realm. This is arguably the most creative and time-consuming part of the process.
- Conceptualization: Every great figure starts with an idea. What do you want to create? A fearsome dragon? A stylized version of your favorite video game character? You'll gather reference images, sketch out your ideas, and define the pose, expression, and overall feel of your figure.
- Digital Sculpting: This is where the magic happens. Using powerful software like ZBrush, Blender, or Maya, artists digitally sculpt the figure from a virtual block of clay. This is a highly skilled process that requires a deep understanding of anatomy, form, and detail. Every muscle, every strand of hair, every fold of cloth is meticulously crafted.
- Model Preparation: A beautiful sculpt isn't automatically ready for printing. The model needs to be optimized for the 3D printing process. This includes ensuring the model is “watertight” (has no holes), the walls have the correct thickness, and the parts are properly keyed to fit together if the model is printed in multiple pieces.
Prepping for Print: Slicing and Supports
Once the 3D model is complete, it's time to prepare it for the printer. This is where the digital file is translated into a language the 3D printer can understand.
- Slicing: The 3D model is imported into a “slicer” program (like Cura, PrusaSlicer, or Lychee). This software, as the name suggests, “slices” the model into hundreds or even thousands of thin horizontal layers. The slicer is also where you'll fine-tune a multitude of settings, such as layer height, print speed, and infill density, all of which will affect the final print's quality and durability.
- Orientation: How you orient the model on the build plate is a critical decision. It can affect the amount of support material needed, the visibility of layer lines, and the overall strength of the print.
- Support Structures: Most complex figures have overhangs and details that can't be printed in mid-air. This is where support structures come in. These are temporary scaffolding that the printer builds to support these features during the printing process. Generating effective supports is an art in itself – you need enough to ensure a successful print, but not so much that they are difficult to remove and damage the figure.
The Main Event: The Printing Process
With all the prep work done, it's finally time to start the print. This is where the digital becomes physical, layer by layer.
- Choosing Your Weapon: There are several 3D printing technologies, but the most common for custom figures are Fused Deposition Modeling (FDM) and Stereolithography (SLA). FDM printers melt and extrude a plastic filament, while SLA printers use a laser to cure liquid resin. SLA is generally preferred for high-detail figures, while FDM is great for larger, more robust prints.
- Material Matters: The material you choose will have a huge impact on the final figure. PLA and ABS are common FDM plastics, each with its own properties. For SLA, there is a vast range of resins, from standard resins to tough, flexible, or castable options.
- Patience and Monitoring: 3D printing is not a fast process. A detailed figure can take anywhere from a few hours to a few days to print. During this time, it's important to monitor the print for any signs of failure, such as warping, layer shifting, or parts detaching from the build plate.
The Final Touches: Post-Processing
The print is finished, but the work isn't over yet. This final stage is what separates a rough print from a stunning, professional-looking figure.
- The Cleanup: The first step is to carefully remove the support structures. This can be a delicate process, and it's easy to damage the figure if you're not careful. After the supports are gone, the figure may need to be cleaned of any remaining resin or plastic residue.
- Sanding and Smoothing: Layer lines are an inherent part of most 3D printing processes. To achieve a smooth, professional finish, the figure needs to be sanded. This can be a tedious process, but it's essential for a high-quality result. Other smoothing techniques, like using a chemical vapor or applying a filler primer, can also be used.
- Assembly and Painting: If the figure was printed in multiple parts, now is the time to assemble them. And finally, the most transformative step of all: painting. This is where the figure truly comes to life. A skilled painter can use a combination of airbrushing and hand-painting techniques to add color, shading, and weathering, turning a monochrome print into a work of art.
The Art of the Possible
As you can see, 3D printing a custom figure is a journey with many steps, each requiring its own set of skills and knowledge. It's a process that combines digital artistry, technical know-how, and hands-on craftsmanship. So, the next time you see an amazing 3D printed figure, remember that it wasn't born from a single click of a button. It's the result of hours of hard work, dedication, and a passion for bringing ideas to life.